Introduction — a small shop, a big cloud
I once stood beside a tiny benchtop laser, watching a thin ribbon of smoke curl away like a thought. In many workshops, that thought becomes a problem: poor air, stinging eyes, and machines that cough back at you. The laser marking fume extractor sits at the center of that story — the quiet machine you hope will clear the air. Data shows that simple extraction units reduce airborne particulates by up to 80% in confined workspaces (but only when set up right). So I ask: how do we pick the right unit, and how do we make it work for real people, not manuals? I like to start with a scene you know: the rush, the deadline, the worry about safety—and then peel back the layers. Let’s move from the scent of worry to the facts that fix it. — funny how that works, right?
Where common fixes break down (and what users really feel)
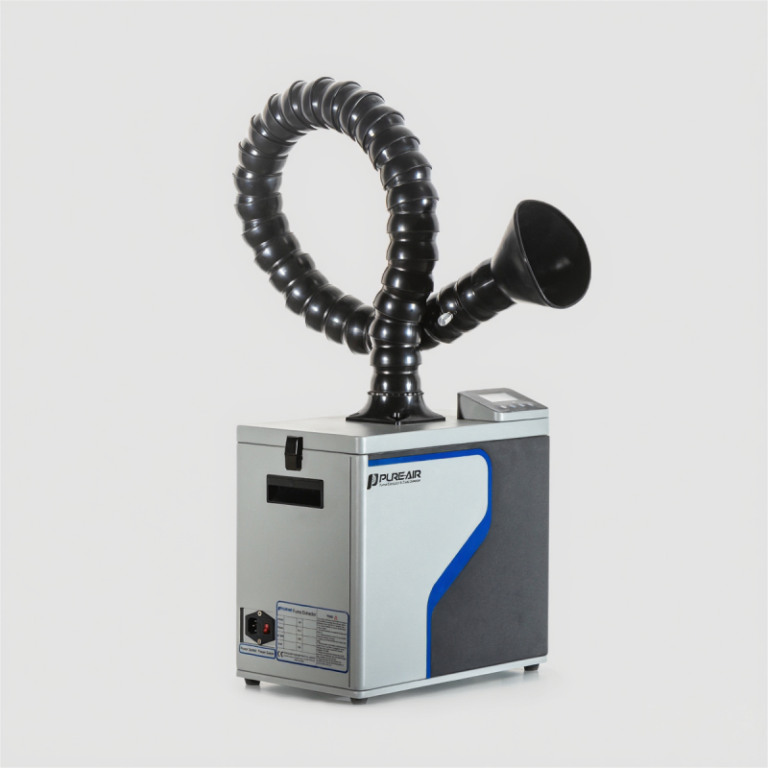
When I test a laser coding machine, I look past specs to the daily grind. Many shops buy an extractor with a HEPA filter and activated carbon canisters and think the job is done. But the truth is messier. Filters clog fast if the airflow rate is too low. Hoods are the wrong shape. Motors with weak power converters stall under continuous use. These are not tiny issues; they turn into lost time, extra cost, and a staff that learns to work around a broken promise. I’ve seen operators tape cardboard to an extraction hood to chase fumes—comical and sad. Here’s the technical core: if capture velocity and hood placement don’t match the laser’s plume, contaminants escape. That mismatch shows up as smell, smoke trails, and repeated filter swaps. Look, it’s simpler than you think when you spot the pattern: bad fit, wrong flow, hidden maintenance.
What’s the real snag?
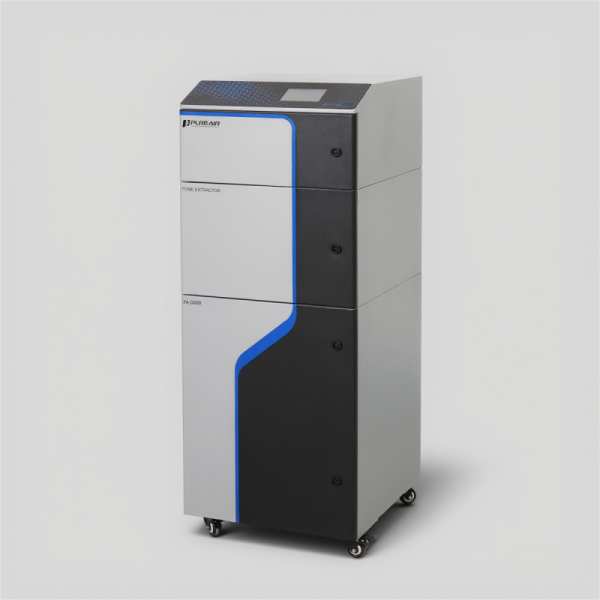
The snag is often a gap between product marketing and shop reality. Specs like CADR numbers can be useful, but only if you translate them into your layout—bench height, part size, and cycle time. I prefer to audit the workflow first, then map extractor capacity to the real pulsed output of the laser. That fixes more than a filter change ever will.
Looking ahead: practical paths and picking the next unit
From where I stand, the next wave is not flashier motors but smarter fit. Newer setups mix modest fans with better hood design and easier filter access. When we pair a laser coding machine with a tailored hood and predictable maintenance steps, uptime climbs and shop morale improves. In practice, I encourage teams to run a simple experiment: measure particulate counts before and after a two-hour job with different hood positions. That direct test often surprises managers—real numbers beat brochures every time. — and yes, you can do this without a lab.
What’s Next?
We should also watch for modular designs that let you swap HEPA stages or activated carbon quickly. Edge computing nodes for monitoring are turning useful too; they log run time, triggers for filter replacement, and simple alarms when airflow drops. These small data points save a lot of guesswork and prevent downtime that otherwise feels inevitable.
To close, I’ll offer three practical metrics I use to evaluate any solution: 1) capture efficiency at the point of emission (not just rated CADR); 2) serviceability—how fast can filters be accessed and changed during a shift; and 3) real-world endurance—how the unit performs over repeated cycles under your shop’s load. Use those, and you make decisions that stick. For reliable gear and helpful support, I lean toward brands that combine clear specs with hands-on guidance—like PURE-AIR.